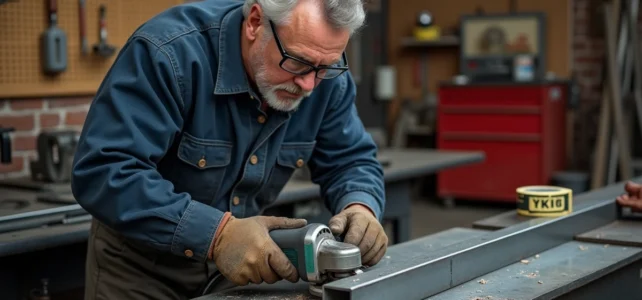
A steel angle is difficult to cut when one only considers the tool. The choice of disc or blade represents just a fraction of the problem. The real challenge lies in holding the piece, managing thermal effects, and achieving the desired tolerance on the final assembly.
Cutting Tolerance on Steel Angle: The Target Threshold
In small series, a tolerance of plus or minus 1 mm on the cut length is considered acceptable, even in a professional context. This benchmark changes the game: there’s no need to aim for a tenth of a millimeter with an angle grinder on a profile intended for a reinforcement frame or a welded chassis.
For an arc-welded assembly, a gap of 1 to 2 mm between the pieces is even recommended. It facilitates the penetration of the molten bath. In brazing, the requirements are tighter, and the cut must then go through a guided tool (band saw, metal chop saw with a stop).
We recommend always adopting the practice of systematic over-length followed by adjustment cutting. This involves cutting the angle with a 2 to 3 mm margin, then refining the final dimension with a file or flap disc. This is a standard method in metalworking, and it prevents pieces from being too short and irretrievable. A detailed resource on cutting a steel angle outlines the marking and drilling steps associated with this approach.
Cutting Speed and Feed Rate: What Ruins Your Discs
Most guides merely list the tools without addressing the settings. However, we observe that premature wear of discs almost always results from a poorly calibrated feed rate, not from a poor choice of disc.
On standard construction steel (S235, S275), a 125 mm angle grinder with a thin disc (1 to 1.6 mm thick) works well, provided that the disc is allowed to work without forcing. Pressing too hard slows down the rotation, generates localized heating, and creates a hardened area due to work hardening. The next cut in this area will be more difficult and will wear the disc even faster.
Conversely, on stainless steel or high yield strength steel angle, an increase in cutting speed of about 20% can halve the tool’s lifespan. The adjustment window is narrow. Too slow, the steel work hardens. Too fast, the blade overheats and loses its hardness.
For thick section angles (wings greater than 50 mm), the band saw remains the best compromise between precision and consumable savings. The cut line is finer, the feed rate is constant, and the piece hardly heats up.
45-Degree Cut on Angle: Marking and Clamping Technique
The 45-degree miter cut on a steel angle presents a specific problem that wood does not: the two wings of the profile are not in the same plane. The angle must be marked on each wing separately, transferring the cut line with a combination square or a protractor laid flat on each face.
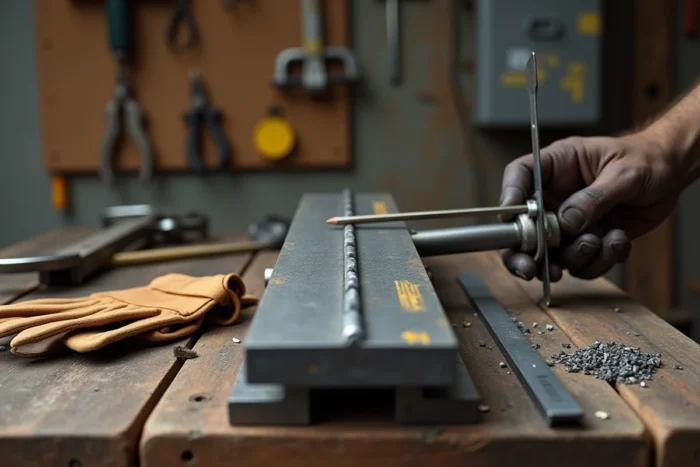
- First, mark on the horizontal wing (the one resting on the vise) starting from the inner edge of the fold, using a punch or carbide marker. The pencil slips on the steel and erases at the first contact with the disc.
- Then transfer the line to the vertical wing using the marked point on the edge as a reference. Check the consistency of the two markings with a false square set at 45 degrees.
- Clamp the angle in the vise with the widest wing resting on the fixed jaw. Insert a spacer made of aluminum or hardwood between the movable jaw and the piece to avoid marking the steel if the visible finish matters.
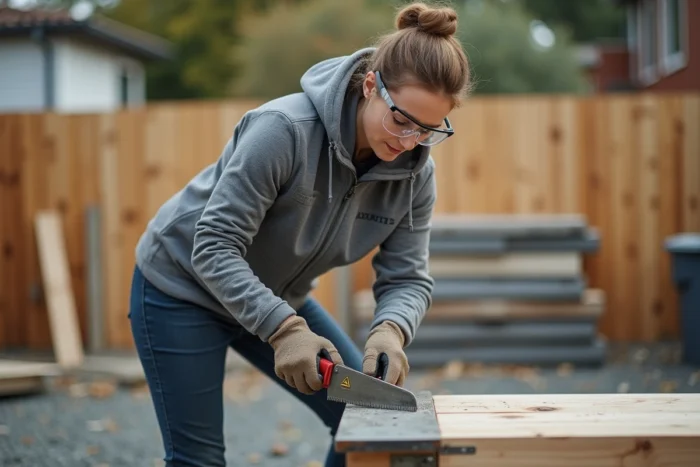
Clamping is the most underestimated variable in the quality of a cut. An angle that vibrates in the vise produces an irregular line, wears the disc asymmetrically, and increases the risk of the grinder kicking back. Tightening firmly, within 30 mm of the cut line, radically changes the outcome.
Edge Finishing After Cutting: Deburring and Adjustment
A clean cut with a disc or saw does not eliminate the need for finishing work. Burrs on the inner edges of the angle hinder the fitting of pieces and compromise the quality of a weld. On a visible angle (cladding, guardrails, furniture), the edge finishing directly determines the final appearance.
- Run a bastard file over both faces of the line to break the sharp edges and remove the main burrs. Work in one direction only, never back and forth, to achieve a consistent finish.
- Refine with a flap disc (60 grit then 120) if the surface is to receive paint or treatment. The flap disc does not remove excess material and follows the profile of the wing without digging.
- Check the flatness of the edge with a small metal ruler. A flatness defect greater than 1 mm on a 40 mm wing angle requires reworking with a grinder using a rigid disc.
On galvanized steel angles, cutting destroys the zinc layer on the edge. Applying a zinc-rich paint (cold galvanizing) on the edge prevents corrosion from starting precisely at the most exposed point.
The last point to keep in mind concerns safety. Metal projections during cutting with a grinder are particularly dangerous on an angle, as the angle of the profile reflects sparks in unpredictable directions. Full-face protection goggles, cut-resistant gloves, and an apron: this equipment is not optional, even for a single cut line.